本文以php版本為例
文件下載
還可以自己先定義內容
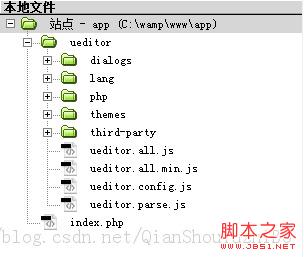
以本地php環境為例
然後
然後輸入以下代碼
<!DOCTYPE html>
<html>
<head>
<title>編輯器完整版實例</title>
<meta http
<script type="text/javascript" src="
<script type="text/javascript" src="
<link rel="stylesheet" href="
</head>
<body>
<h
<form id="form" method="post" target="_blank">
<script type="text/plain" id="myEditor" name="myEditor">
<p>歡迎使用UEditor!</p>
</script>
<input type="submit" value="通過input的submit提交">
</form>
<p>
從
<button onclick="document
</p>
<script type="text/javascript">
var editor_a = UE
//
var doc=document
version=editor_a
form=doc
form
</script>
</body>
</html>
然後再浏覽器輸入localhost/app/
就可以查看編輯器了
然後會發現圖片上傳功能無法使用
然後找到這一行代碼
var URL = window
然後再這一行代碼的上面加上這行代碼
window

然後
ueditor的官方說明文檔地址
官方說明文檔中的文件名有錯誤(應該是版本升級之後沒有修改過來)
From:http://tw.wingwit.com/Article/program/PHP/201311/21260.html