系統
IP地址
數據存放目錄
系統
IP地址
同步的目錄
實現目的
cwRsync客戶端每天凌晨
系統運維 溫馨提醒
一
說明
whereis iptables #查看系統是否安裝防火牆
iptables: /sbin/iptables /usr/share/iptables /usr/share/man/man
apt
iptables
Chain INPUT (policy ACCEPT)
target prot opt source destination
Chain FORWARD (policy ACCEPT)
target prot opt source destination
Chain OUTPUT (policy ACCEPT)
target prot opt source destination
nano /etc/iptables
##################################################################################################
*filter
# Allows all loopback (lo
# Accepts all established inbound connections
# Allows all outbound traffic
# You could modify this to only allow certain traffic
# Allows HTTP and MySQLconnections from anywhere (the normal ports for websites)
# Allows SSH connections for script kiddies
# THE
# Now you should read up on iptables rules and consider whether ssh access
# for everyone is really desired
# Allow ping
# log iptables denied calls (access via
# Reject all other inbound
COMMIT
##################################################################################################
ctrl+o #保存
ctrl+x #退出
備注
iptables
nano /etc/network/if
##########################################################
#!/bin/bash
/sbin/iptables
##########################################################
chmod +x /etc/network/if
whereis rsync #查看系統是否已安裝rsync
rsync: /usr/bin/rsync /usr/share/man/man
apt
nano /etc/default/rsync #編輯配置文件
RSYNC_ENABLE=true #把false改為true
ctrl+o #保存
ctrl+x #退出
nano /etc/rsyncd
log file = /var/log/rsyncd
[MySQL_Backup] #自定義名稱
path = /home/mysql_data #Rsync服務端數據目錄路徑
comment = MySQL_Backup #模塊名稱與[MySQL_Backup]自定義名稱相同
uid = root #設置rsync運行權限為root
gid = root #設置rsync運行權限為root
port=
read only = no #設置為no
write only = no #設置為no
auth users = mysqlbakuser #執行數據同步的用戶名
secrets file = /etc/rsync
hosts allow =
hosts deny =
list = yes #顯示Rsync服務端資源列表
ctrl+o #保存
ctrl+x #退出
nano /etc/rsync
mysqlbakuser:
ctrl+o #保存
ctrl+x #退出
chmod
chmod
/etc/init
service rsync stop #停止
service rsync restart #重新啟動
二
下載地址
解壓cwRsync_
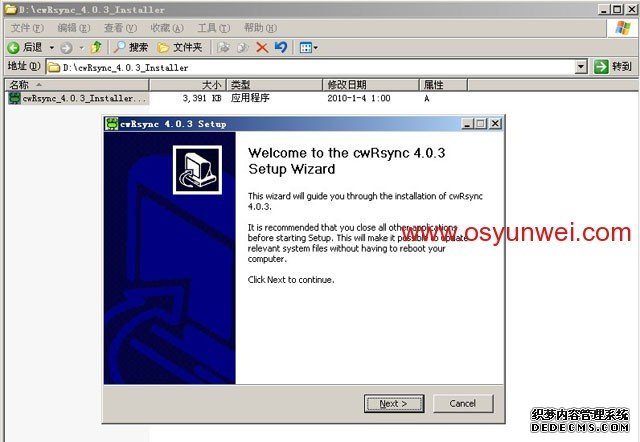
Next 下一步
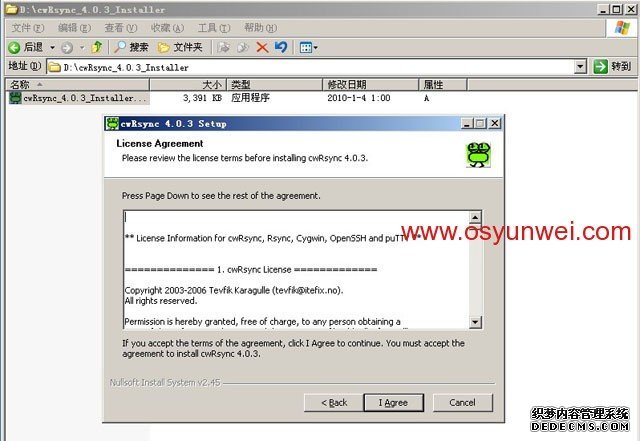
IAgree 同意安裝
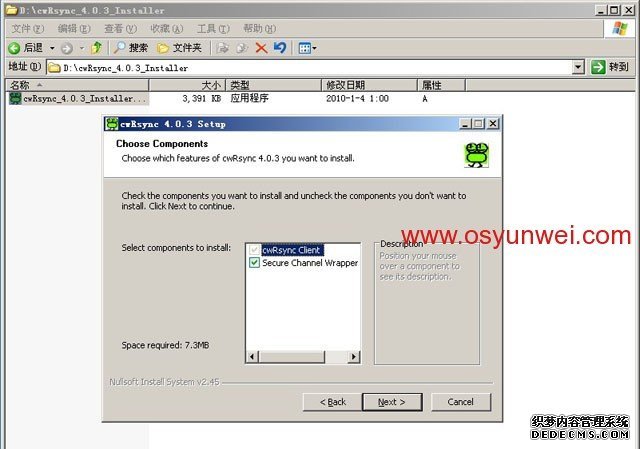
Next
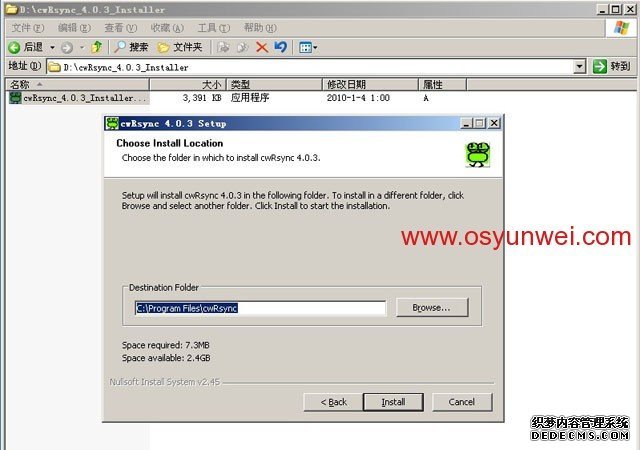
默認安裝路徑 C:Program FilescwRsync
Install 安裝
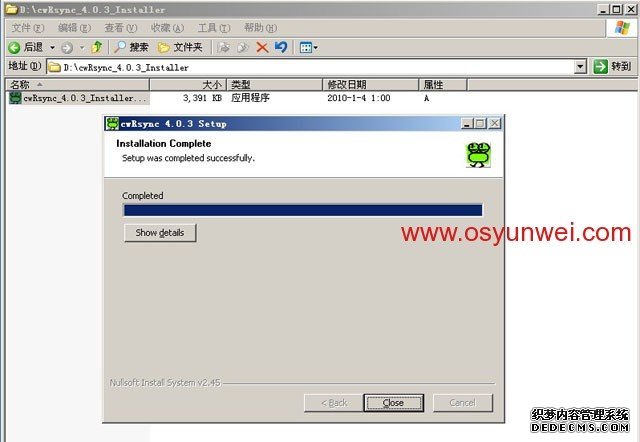
Close 安裝完成
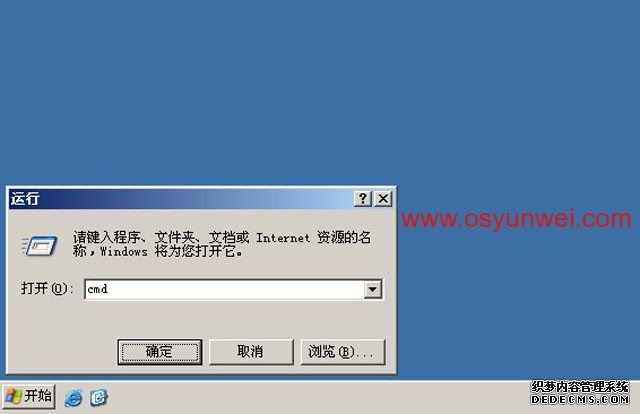
開始
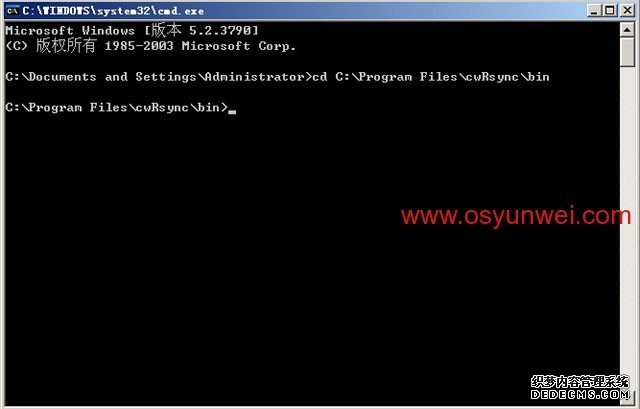
輸入cd C:Program FilescwRsyncbin 回車
再輸入telnet
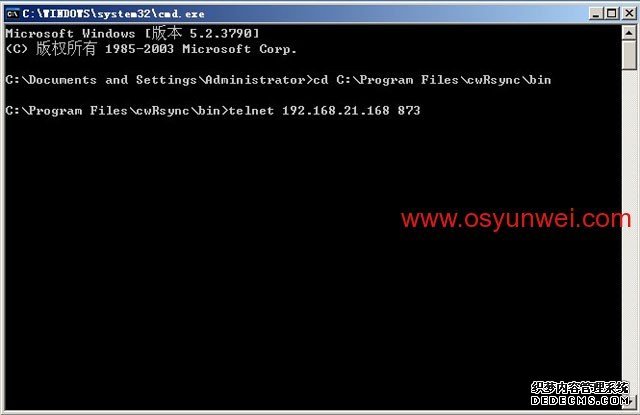
出現下面的界面
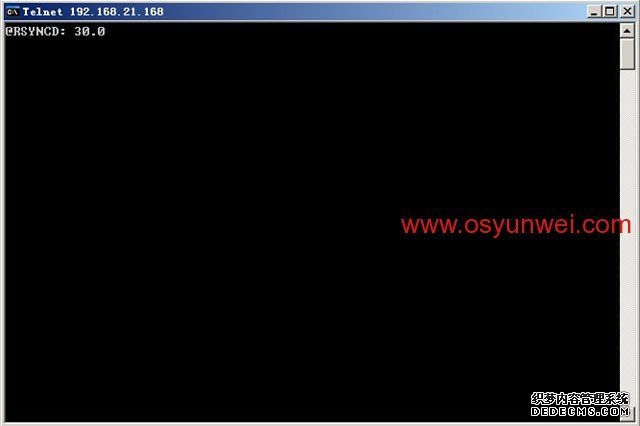
備注 C:Program FilescwRsyncbin 是指cwRsync程序安裝路徑
開始
再輸入rsync
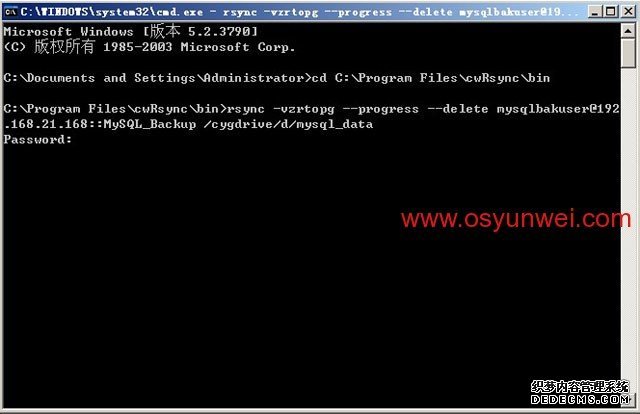
輸入密碼
出現下面的界面
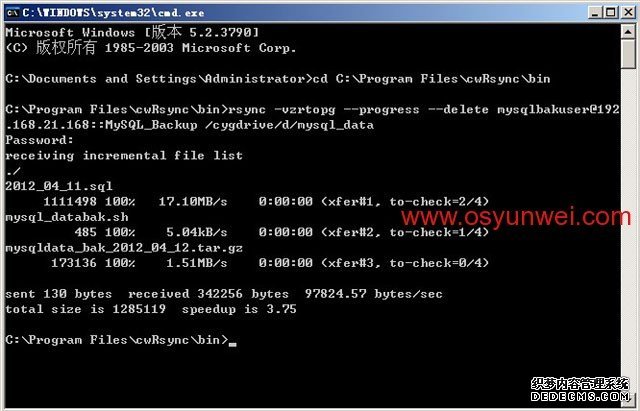
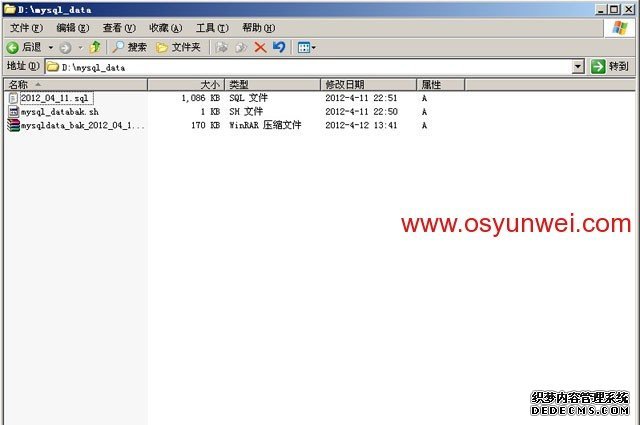
可以打開D:mysql_data 與Rsync服務端/home/mysql_data目錄中的數據對比一下
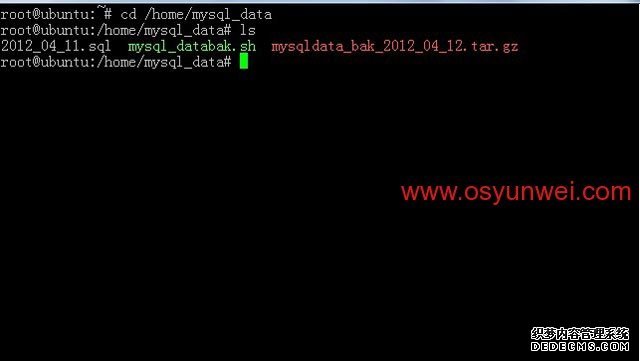
相關說明
d/mysql_data 代表D:mysql_data
MySQL_Backup 代表/etc/rsyncd
mysqlbakuser #執行數據同步的用戶
三
輸入
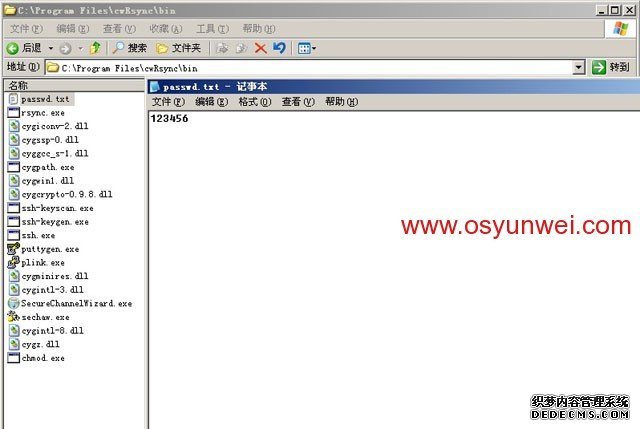
保存
繼續在C:Program FilescwRsyncbin目錄
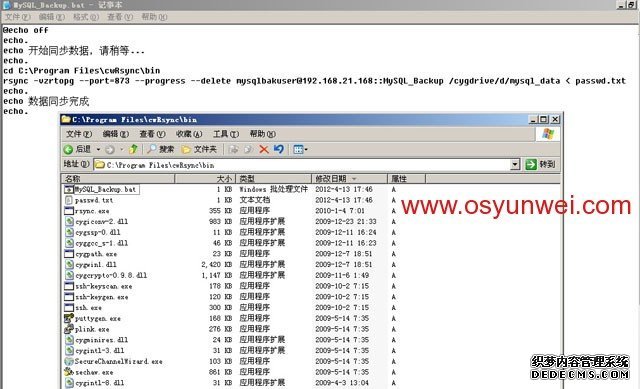
輸入
@echo off
echo
echo 開始同步數據
echo
cd C:Program FilescwRsyncbin
rsync
echo
echo 數據同步完成
echo
最後保存退出
開始
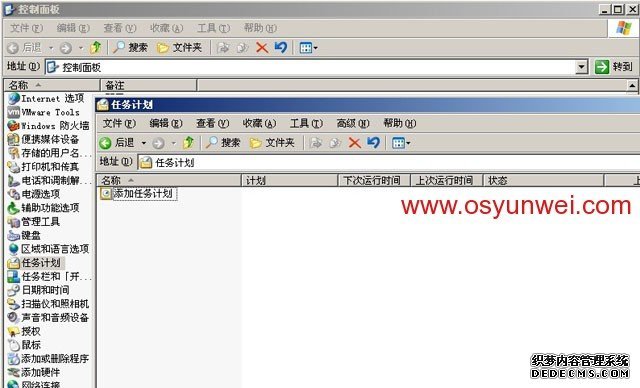
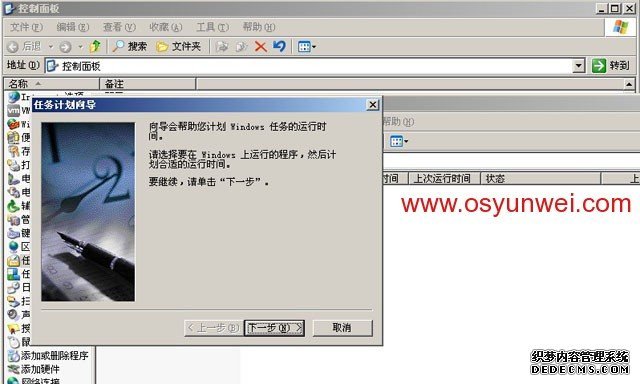
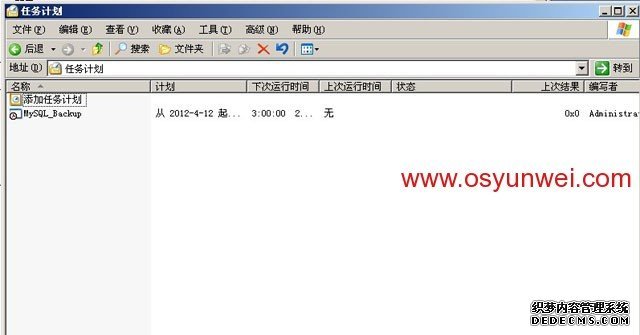
打開添加任務計劃
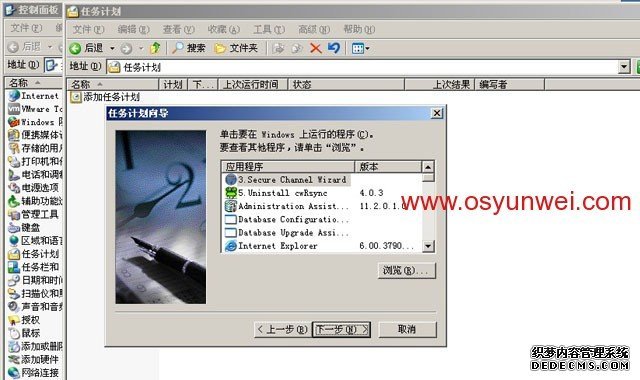
浏覽
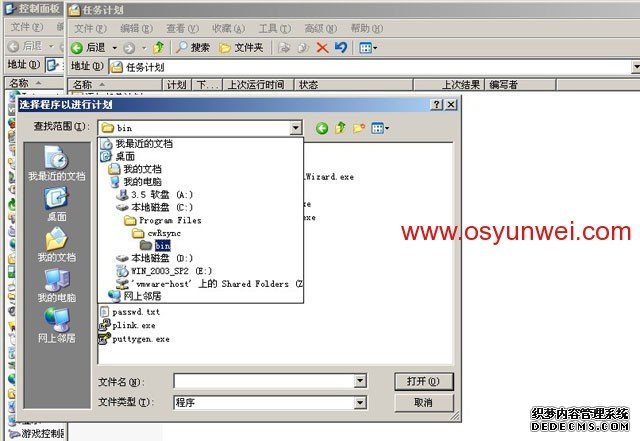
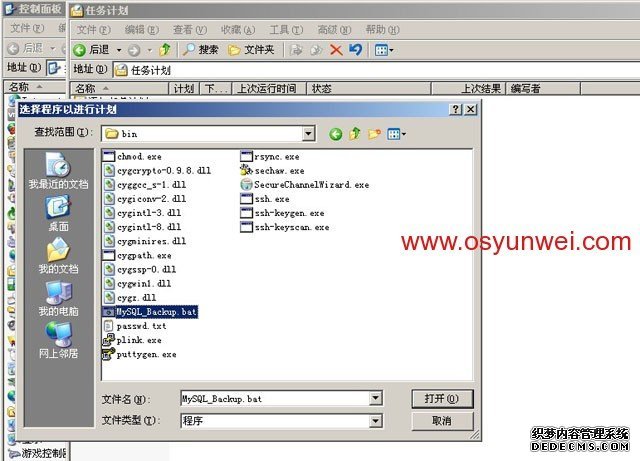
執行這個任務
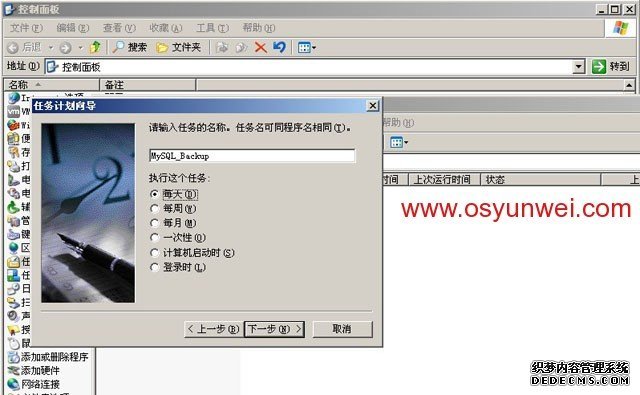
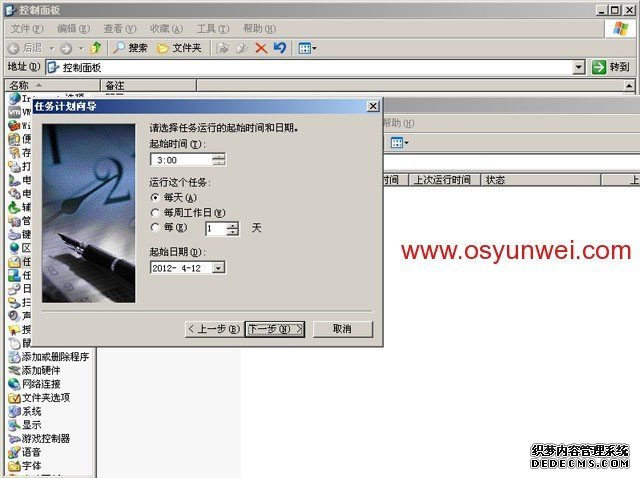
起始時間
運行這個任務
輸入Windows系統管理員的登錄密碼
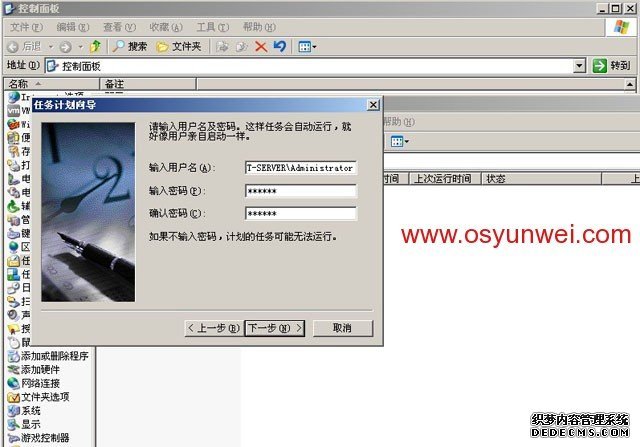
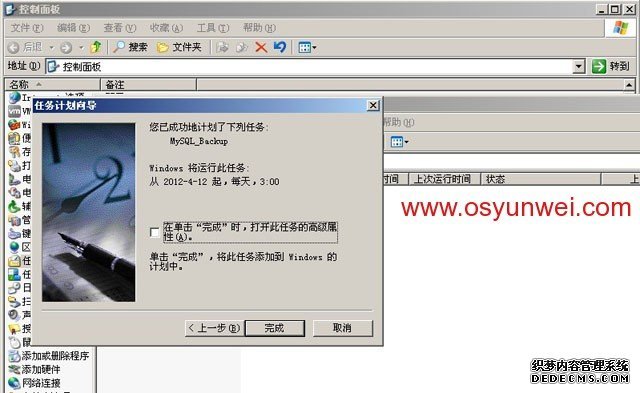
完成
擴展說明
切換到日程安排來選項設置
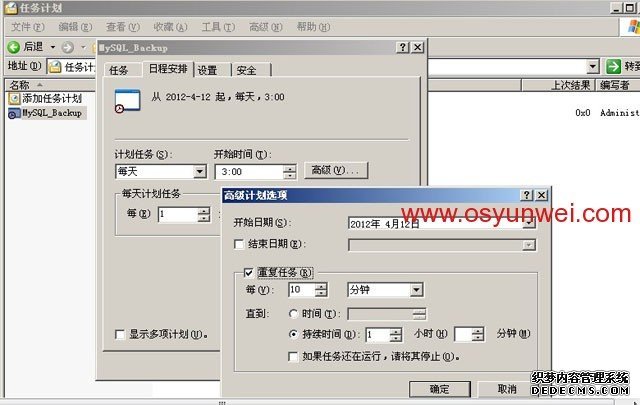
至此
From:http://tw.wingwit.com/Article/Common/201311/8368.html
